How to show hidden files on Mac without losing context.
The fastest temporary method is the Finder keyboard shortcut. Kondor uses the same shortcut while keeping two folder panes visible, and its search dialog can include hidden files without making every normal browse noisier.
Command-Shift-Period is the quickest temporary toggle in Finder and Kondor.
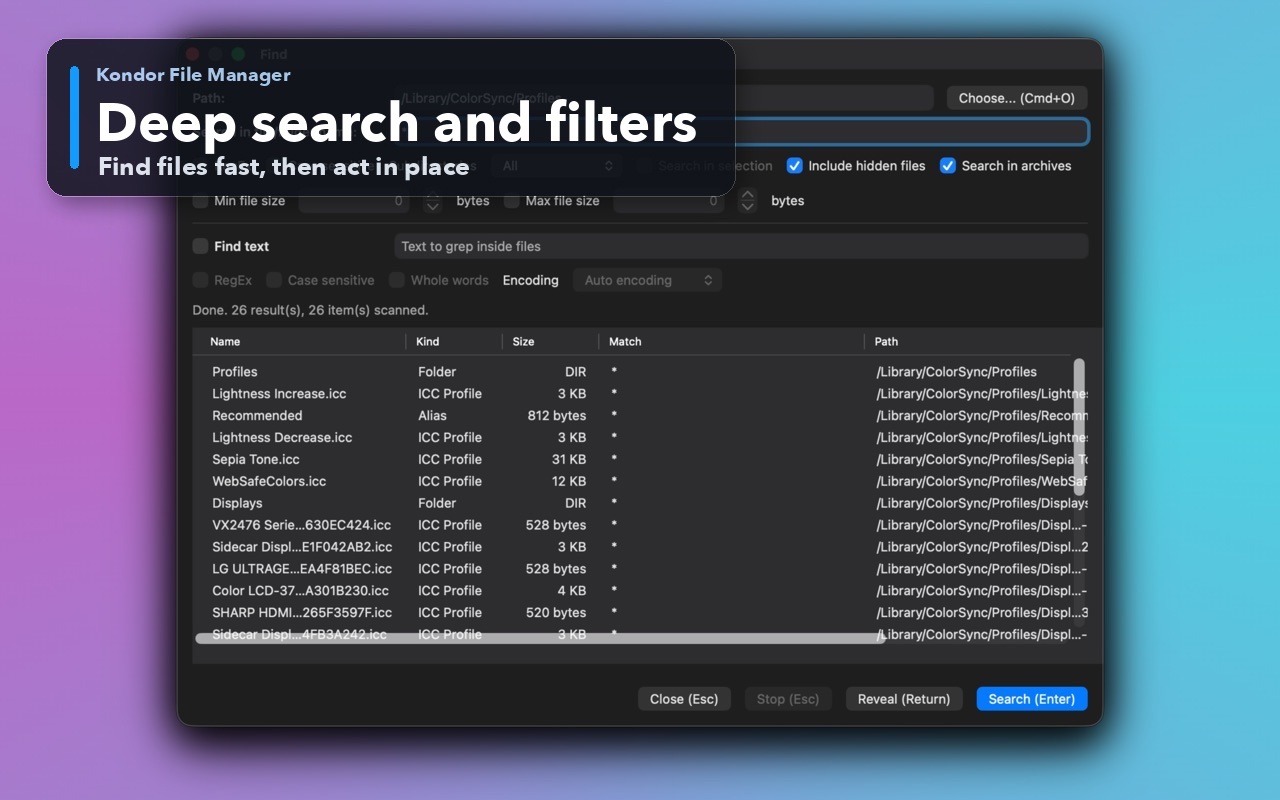
Kondor can include hidden files in a focused search even when ordinary browsing remains clean.
Hidden files often contain app or system configuration. Visibility is not permission to delete or rename them.
Real product evidence
See the KFM workflow before trying it.
These screenshots show the exact product surfaces referenced in this guide.
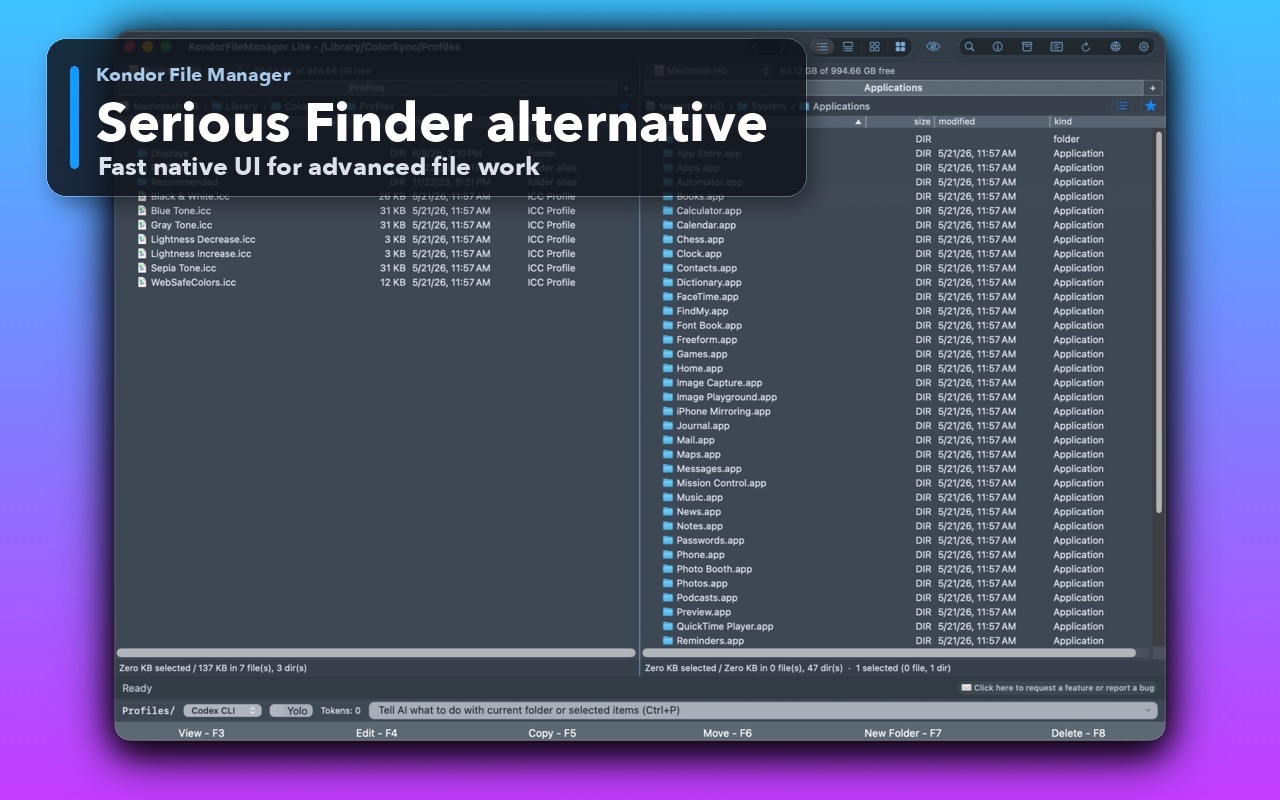
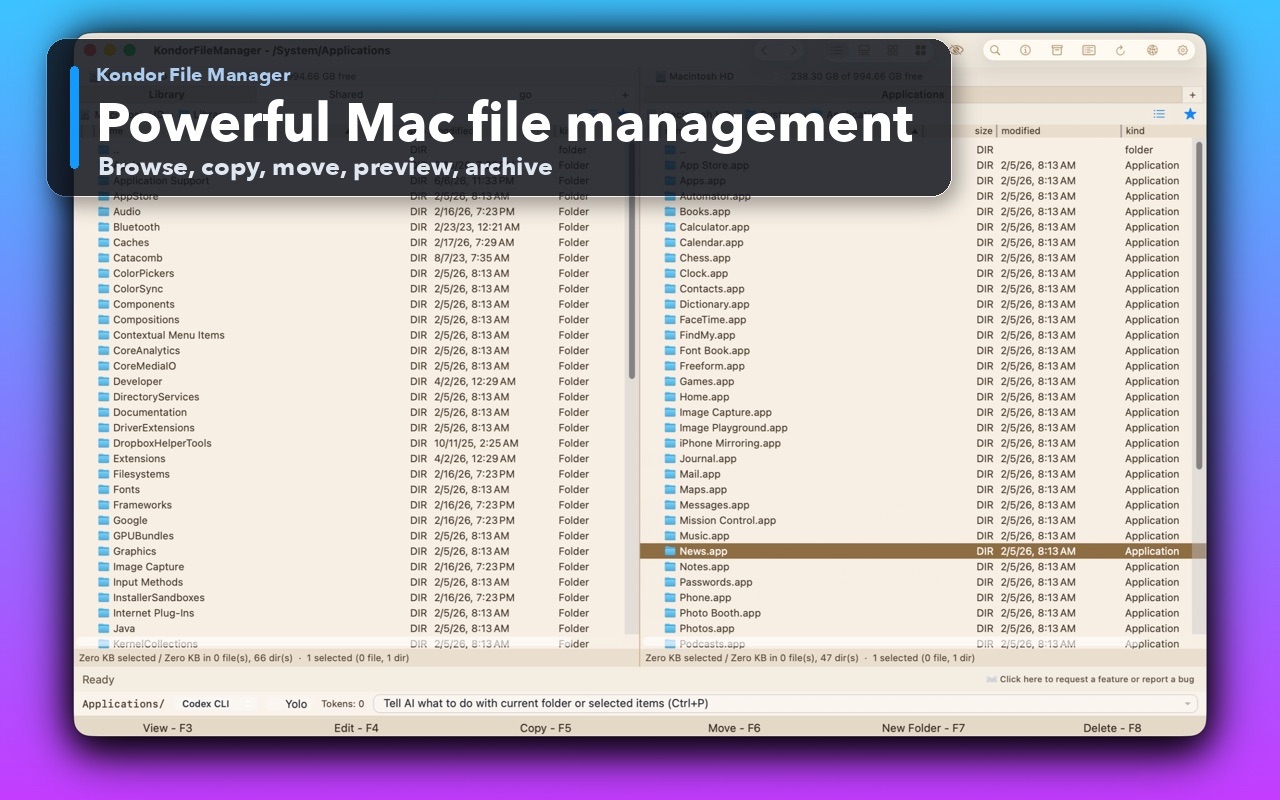
Deep search and filtersSearch by name and attributes, with an option to include hidden files.A serious Finder alternativeUse a focused native workspace when a file job needs more control than one Finder window.Two-pane Mac file workspaceKeep source and destination folders visible during repeated file operations.
Step by step
Choose the method that matches the job.
Method 1: use the Finder shortcut
Best for quickly checking a folder without changing a lasting preference.
Open the folder in Finder.
Press Command-Shift-Period. Hidden files and folders should appear, often with a faded look.
Inspect or copy the item you need.
Press Command-Shift-Period again to return to the normal view.
Good to know: This is the safest default for most users because the change is quick to reverse and does not require Terminal.
Method 2: use Kondor
Best when hidden files are part of a larger two-pane, search, or developer workflow.
Open the relevant folder in Kondor.
Press Command-Shift-Period, click the eye button, or choose View > Show Hidden Files.
Work with the visible dotfiles while keeping the source and destination folders in view.
Toggle hidden files off again when the extra entries are no longer useful.
For a focused search, open Find and enable Include hidden files instead of exposing them during every browse.
Good to know: Kondor remembers the setting and applies the view across both panes. Its default shortcut matches Finder, but shortcuts can be customized.
Method 3: use Terminal for a persistent Finder preference
Best for advanced users who intentionally want Finder to keep showing hidden files.
Open Terminal.
Run: defaults write com.apple.finder AppleShowAllFiles -bool true; killall Finder
To reverse it, run: defaults write com.apple.finder AppleShowAllFiles -bool false; killall Finder
Reopen the folder and verify that Finder now uses the intended preference.
Good to know: The command restarts Finder windows. Prefer the keyboard shortcut when you only need temporary visibility.
Safety and limits
Keep the useful guardrails.
Some protected system locations still require macOS permission even after hidden files become visible.
Do not delete unfamiliar dotfiles such as app settings, shell configuration, or repository metadata.
Cloud, remote, archive, and device providers may represent hidden files differently from a local macOS folder.
If a file still does not appear, check the search scope, permissions, provider rules, and whether the item actually exists in that folder.
Press Command-Shift-Period in Finder. Press the same shortcut again to hide the files. Kondor uses the same default shortcut.
Why can I not see a hidden folder on my Mac?
The view may still be hiding dotfiles, the search may exclude hidden items, or macOS permissions may block the location. Toggle visibility first, then check the folder and permission scope.
How do I show hidden files in Terminal?
Run defaults write com.apple.finder AppleShowAllFiles -bool true followed by killall Finder. Use false instead of true to hide them again.
Can I search hidden files without showing all of them?
Yes. In Kondor's Find window, enable Include hidden files for that search. This is useful when you know what you need but want normal folder views to stay clean.